Difference between revisions of "Laser cut raspberry pi case"
From Bloominglabs
Austintoombs (Talk | contribs) |
Austintoombs (Talk | contribs) |
||
| (3 intermediate revisions by one user not shown) | |||
| Line 4: | Line 4: | ||
* current: 80 | * current: 80 | ||
* passes: 1 | * passes: 1 | ||
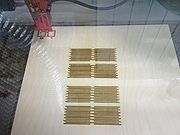
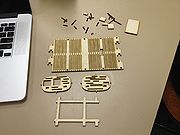
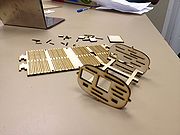
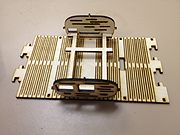
| − | And it worked great with just the 1 pass! Everything came out beautifully. | + | And it worked great with just the 1 pass! Everything came out beautifully. I wrote about the experience on my blog [http://austintoombs.com/laser-cut-raspberry-pi-case/ here]. |
| − | [[File:rpicase1.jpg]] | + | [[File:rpicase1.jpg|none|thumb]] |
| − | [[File:rpicase2.jpg]] | + | [[File:rpicase2.jpg|none|thumb]] |
| − | [[File:rpicase3.jpg]] | + | [[File:rpicase3.jpg|none|thumb]] |
| − | [[File:rpicase4.jpg]] | + | [[File:rpicase4.jpg|none|thumb]] |
| − | [[File:rpicase5.jpg]] | + | [[File:rpicase5.jpg|none|thumb]] |
| − | [[File:rpicase6.jpg]] | + | [[File:rpicase6.jpg|none|thumb]] |
| − | [[File:rpicase7.jpg]] | + | [[File:rpicase7.jpg|none|thumb]] |
[[Category: Austin's Projects]] [[Category: Laser]] | [[Category: Austin's Projects]] [[Category: Laser]] | ||
Latest revision as of 15:32, 11 July 2013
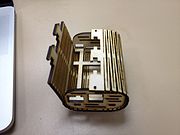
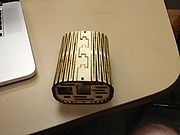
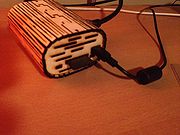
This raspberry pi case is an instance of this thingiverse project. We set the laser to:
- power: 90
- speed: 10
- current: 80
- passes: 1
And it worked great with just the 1 pass! Everything came out beautifully. I wrote about the experience on my blog here.
